
DIY Photo Light Box: Taking Product Photos Even at Night
Introduction
Last November 2016, my wife and I created an online store, named Linens and Layers. We offer a wide range of products, from linens to apparels, like towels, bed sheets, pillowcases, bathrobes, bridal robes, laboratory coat, school uniforms, and infant wear. We mostly cater Philippine local brands like Olympic, Hope, and Sylvia.
Linens and Layers started out in Facebook and eventually to marketplaces like Shopee. Initially, we have zero photos of any of the products and we just only have the product prices. Are you curious on how we built our product catalog?
We tried borrowing some product samples from our closest suppliers but note that suppliers don’t usually provide free samples. We eventually bought products from our suppliers in order to take photos of the items. Yes, all photos in Linens and Layers are the actual products and are taken by me and my wife. We made a routine of posting an item at least once every two weeks but we have reached the current catalog state not without hiccups.
Problem
We wanted the products to look beautiful even on pictures that is why we spend time in taking their photos. We usually shoot at around 02:00PM to 04:00PM during weekends. We think that this time frame is best for our home setup. But, the time-specific shoot is also one of the problems with our workflow. We are quite restricted to shoot on weekends and we greatly depend on natural light.
In line with our goal of posting photos without edits as much as possible, we have decided to create our own photo light box and check if it could help us produce better and more consistent product photos.
Creating the Photo Light Box
Materials Needed
- Box
- Japanese Paper
- Bristol Board / Cartolina
- Cutter / Scissors
- Tape / Glue
- Desk Lamps
Steps
-
Find a box with a size that can fit the items that will be photographed. Try checking out your storage area as you might also find a box, from one of your home appliaces, just lying around.
-
Cut holes on three sides of the box. I used 4-inch margins as the box is quite large. You may experiment on the margins of the holes and start with big margins first.

-
Cover the holes with white Japanese paper using tape. You can also glue the Japanese paper if you are sure that there will be no modifications after.

-
Use a white cartolina or a bristol board for the sweep of the light box. Remember to curve the cartolina instead of folding it at a 90 degree angle. This is to provide an illusion of an infinite space.
Note: I suggest to use tapes for the backdrop for convenience instead of glueing it to the box.
-
Place the desk lamps near the created holes and start lighting them up. Adjust the position of the lamps depending on the shadows and reflections of the subject.

Weak Link #1: The desk lamp on top of the box is not positioned optimally. Best if the lamp can be placed near the hole as much as possible.
Weak Link #2: I noticed that the Japanese paper I used is blocking quite some light. I have not tried using a white fabric as diffuser (or other materials like a tracing paper).
-
Set up your camera and start shooting! *cluck!* *cluck!* *cluck!*

Sample Outputs
Without Light Box (Old Setup)
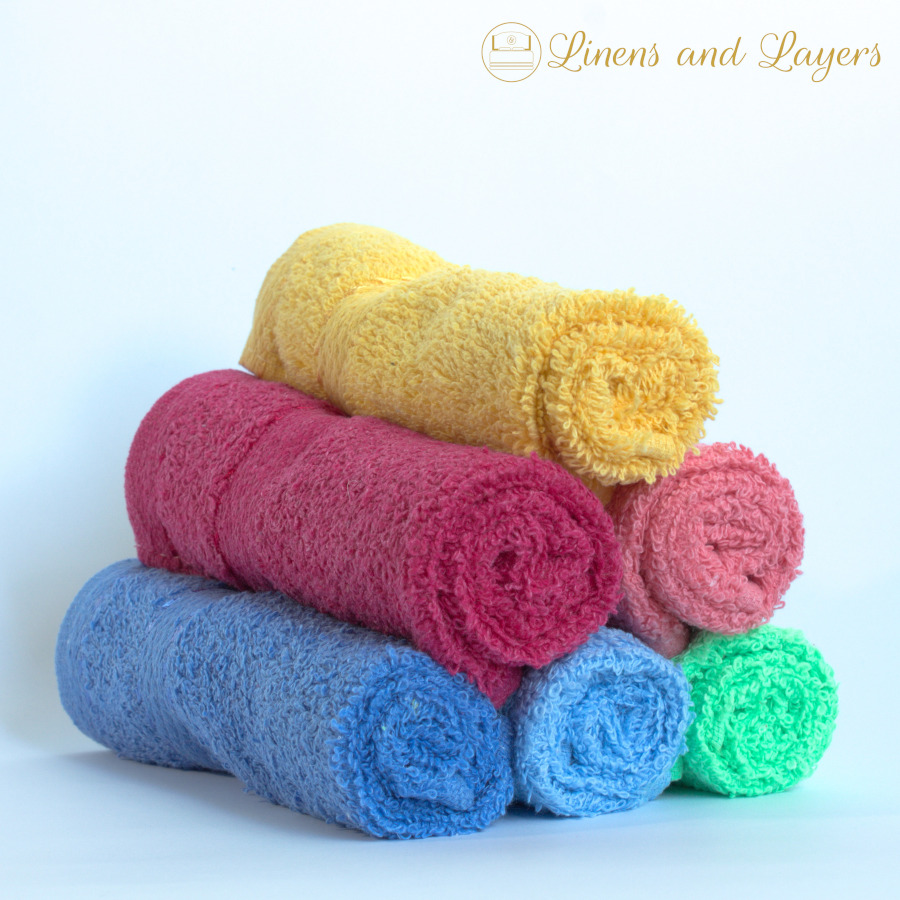
Shadows are more pronounced and very uneven as we didn’t use a reflector on the left side. The light source is coming from the right side and the evident blue tint is due to the windows. We were still using a white cartolina for the background at this point.
With Light Box
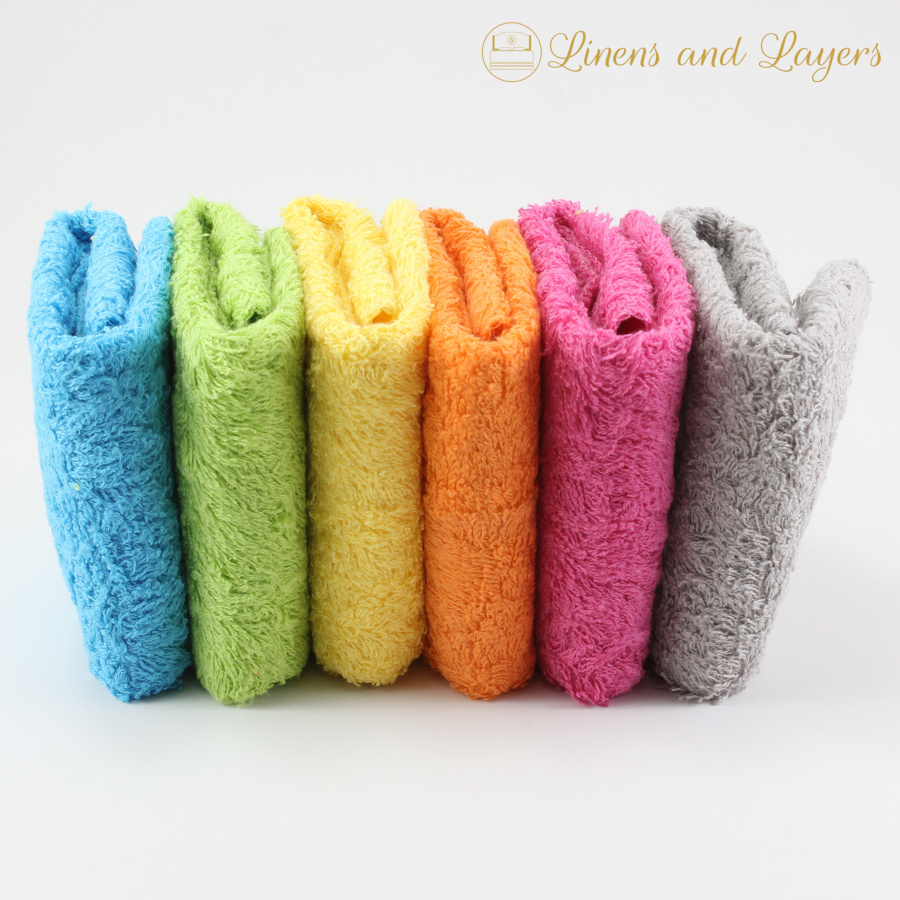
The background is now more even as compared to the old setup. Shadows on the right are now lighter but the front shadows are darker. The background is a bit yellowish due to the bristol board we used. It seems that it is better to use the white cartolina instead.
Conclusion
The use of the light box really helped us especially for ad hoc photo taking even if our setup is very rough and far from great. We were taking pictures even in evenings! The box provided convenience and consistency in taking product photos. We are happy with the output as the photos are quite neat.
In case you are looking for a light box, I encountered some affordable ones in online marketplaces. If you will be taking photos of small items, buying a ready-made one might be a better choice.
Cheers!
Leave a comment