
Replicating Lightroom Mobile Defaults in RawTherapee - Can this be achieved?
Introduction
Few years have passed since I last used RawTherapee. I want to know the improvements in RawTherapee and see if I should now edit using my desktop computer.
Well, there’s great news! The problem about the default washed out images I mentioned in my old post has already been updated in versions 5.4 and above.
Note: Version 5.4 has been released last 20-March 2018. I am so late! (-_-)
Based on its documentation here, the software now uses the “Auto-Matched Curve” profile instead of “Neutral” for raw files. The initial state of the imported image will look like your SOOC (“Straight Out of Camera”) JPEG.

The output of the default profile of RawTherapee looks nice. But, how does it compare to the output of my camera and the default of Adobe Lightroom?
Comparison - Defaults
The default output of RawTherapee does not fully mimic the SOOC shot. It looks brighter and with green tint. Skin tone is on the yellowish side and the browns look more orangy. I also noticed that the image is smoother (less noise) but with less details.
On the other hand, Lightroom’s output is more similar to the SOOC image. It is just a bit brighter and saturated. Skin tone looks more natural with a bit of magenta tint. It also looks grainier which is likely due to a brighter image.

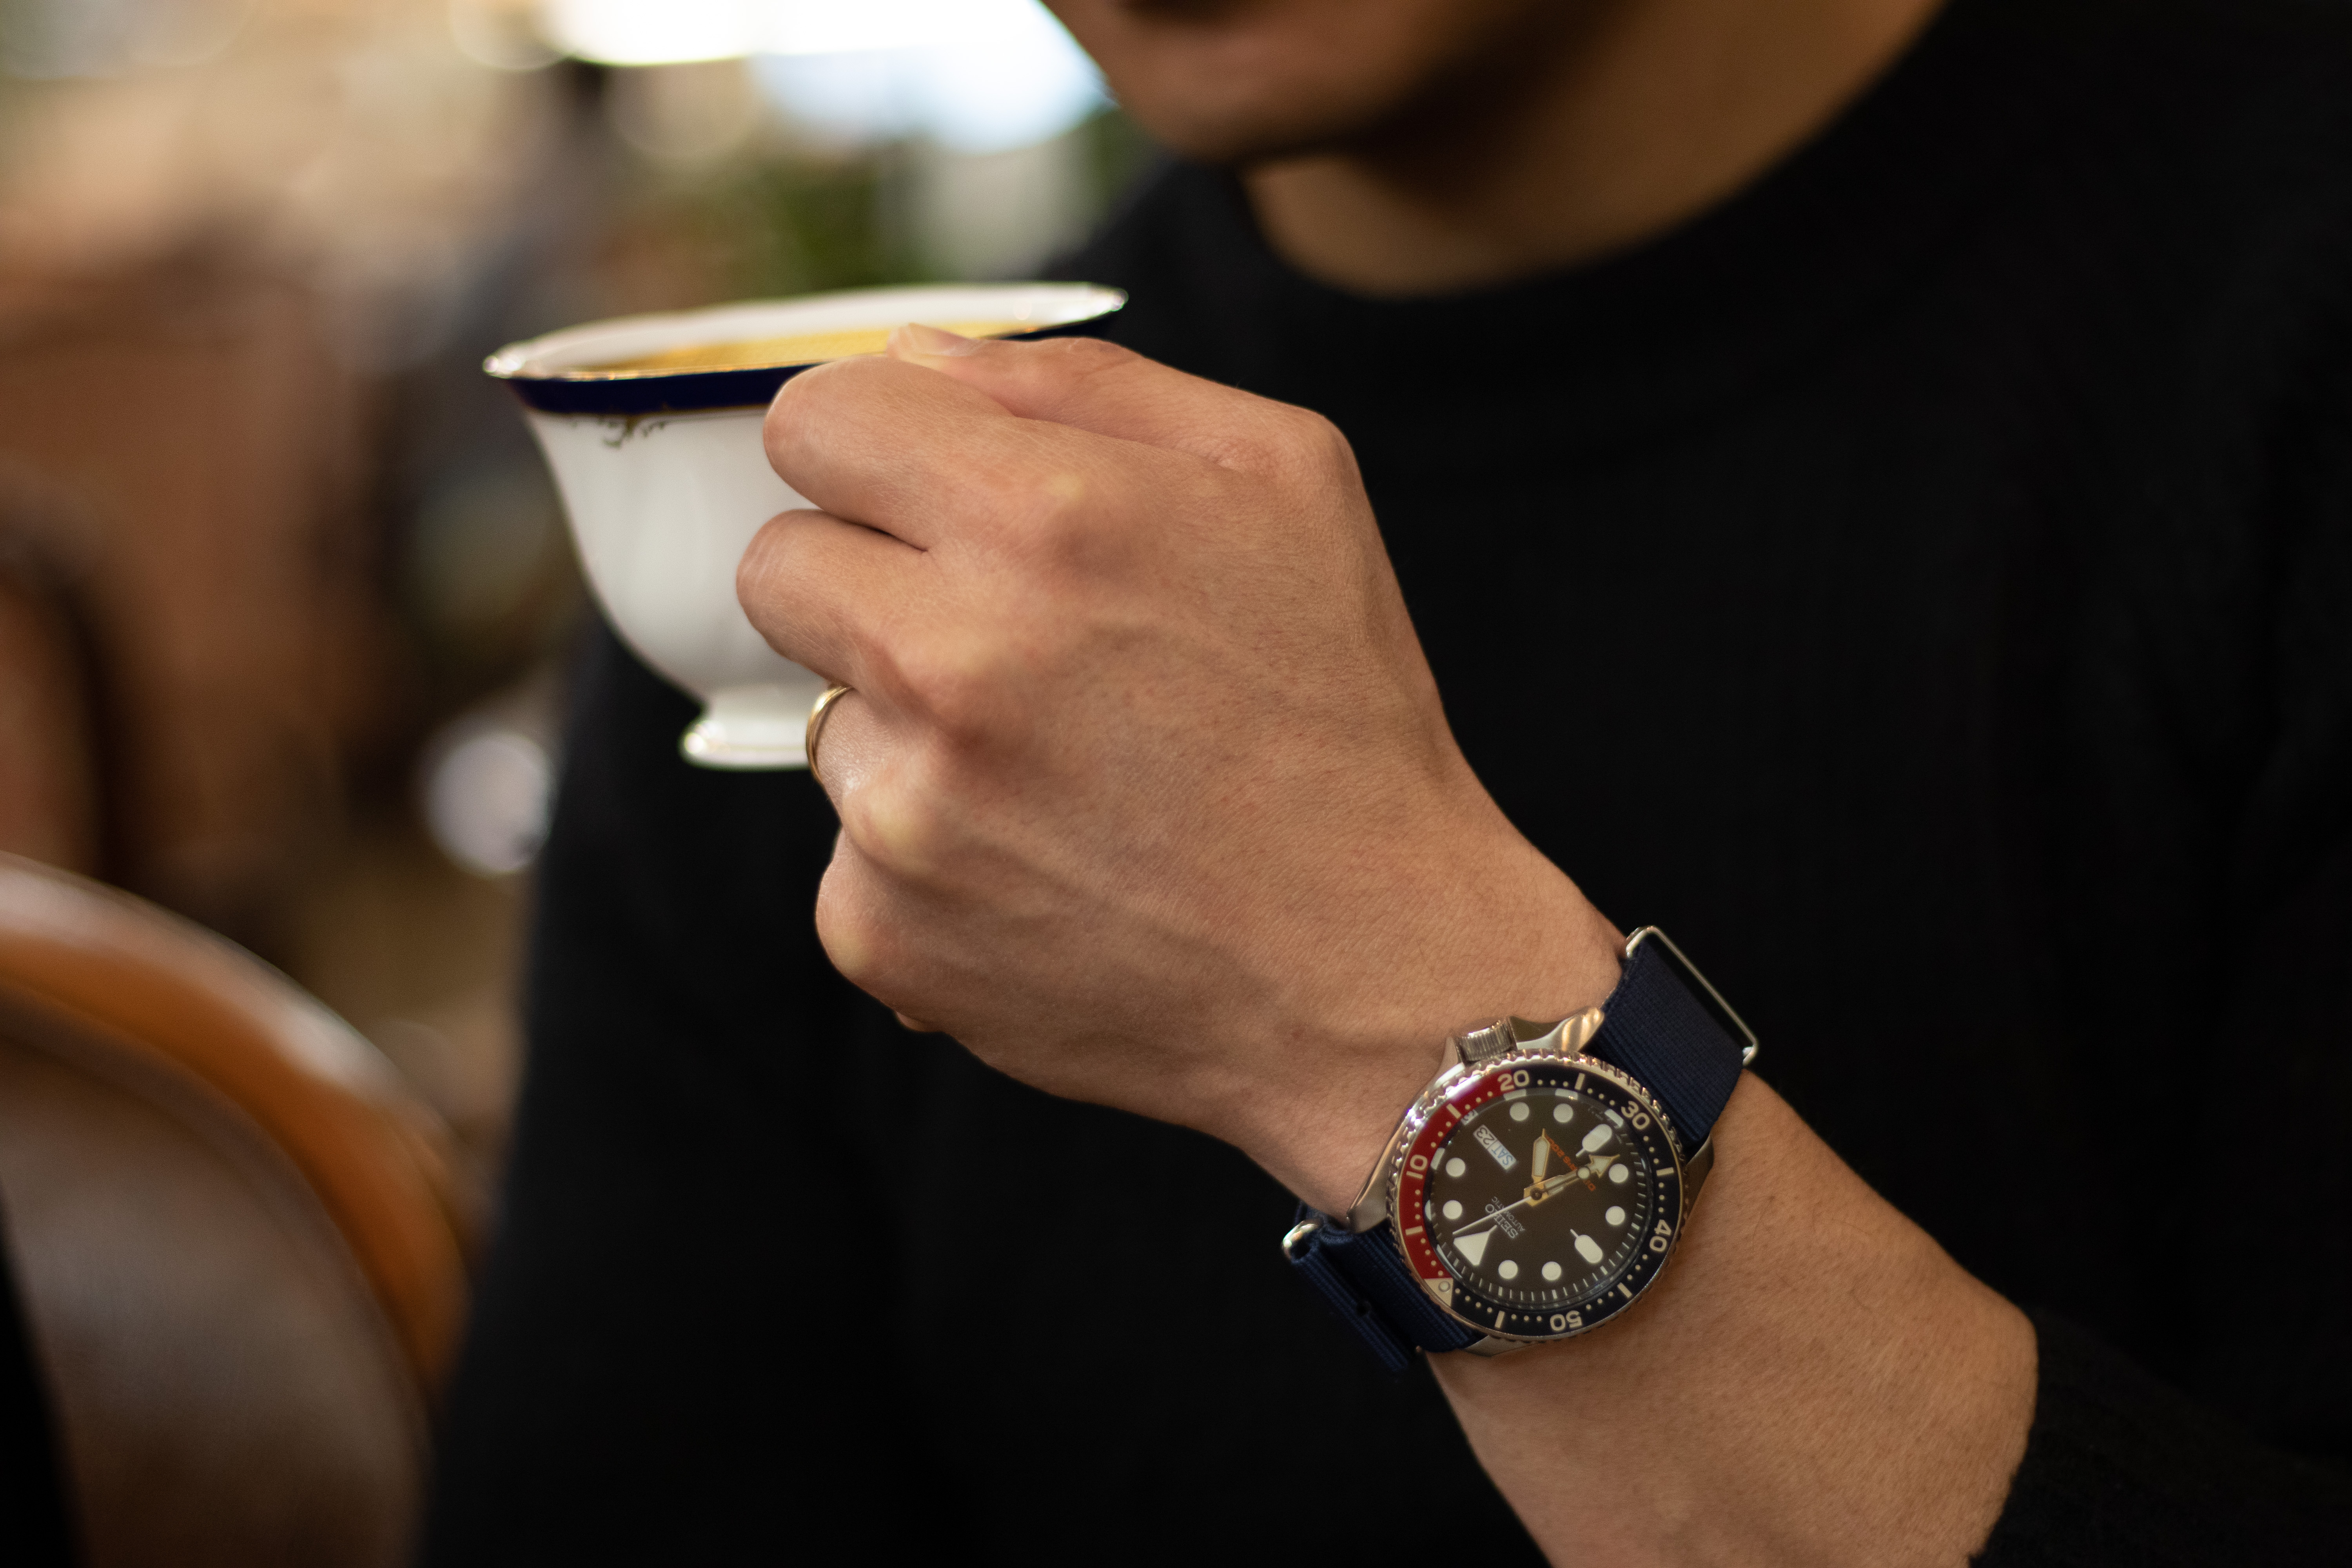
Have you noticed the similarities and differences I mentioned above? Feel free to comment if you’ve noticed other discrepancies.
Note: I am using a modified neutral profile for my camera that’s why the SOOC shot is quite flat.
RawTherapee - Settings
Upon checking other default settings, I noticed that “Noise Reduction” is enabled in RawTherapee by default. Maybe this is the answer for the lack of detail issue.
Also, I recently found out that RawTherapee supports custom color profiles and these profiles are included in the Adobe DNG Converter software.
I wonder if these settings are sufficient enough to replicate the default output Adobe Lightroom. Let’s try applying the tweaks using the steps below.
Steps
-
Download and install Adobe DNG Converter
-
Check the existence of the folder below
%ALLUSERSPROFILE%/Adobe/CameraRaw/CameraProfiles/Adobe Standard -
Find the
.dcpfile of your camera (if supported)%ALLUSERSPROFILE%/Adobe/CameraRaw/CameraProfiles/Adobe Standard/Canon EOS M50 Adobe Standard.dcp -
Run the RawTherapee application
-
Using the File Browser tab, Browse the raw image to edit
-
Open the image > Editor tab will be displayed
-
Set the custom camera profile
- Go to the Colors tab
- Find the Camera Management section
- Click Custom > click the browse button
- Choose the
.dcpfile from step #3. -
Click Open

Note: For the complete details about DCP, you may check their documentation here.
-
Disable Noise Reduction
- Click the Detail section
- Find the Noise Reduction section
-
Click the “power” button to toggle

-
Export the image
Output - Final
In my opinion, the new RawTherapee output is way way better than its default. Grains and details are already visible. Greenish tint is gone and skin tone looks more natural.
For the browns, they look less orangy now. But when compared again to Lightroom, the shade is still far off. Brightness difference is very minor and can easily be adjusted.
Conclusion
Replicating the exact output as Lightroom can not easily be done with few change of settings. Further adjustment of colors is needed to really align them.
With those minor changes, the image really improved a lot especially the skin tone. If you are someone who is not particular with the color differences, or someone who has his/her own presets, using RawTherapee is definitely a great option.
Will I switch from using Lightroom Mobile (free version) to RawTherapee? My answer is still a no as my use case hasn’t changed since then. I don’t process a lot of images and I really love the UX of the mobile app.
Hope you like my small experiment and do suggest some tips if you know other settings to be modified.
Stay safe!
Leave a comment